
Send a text message
Click here for an explanatory video on how to send a text message.
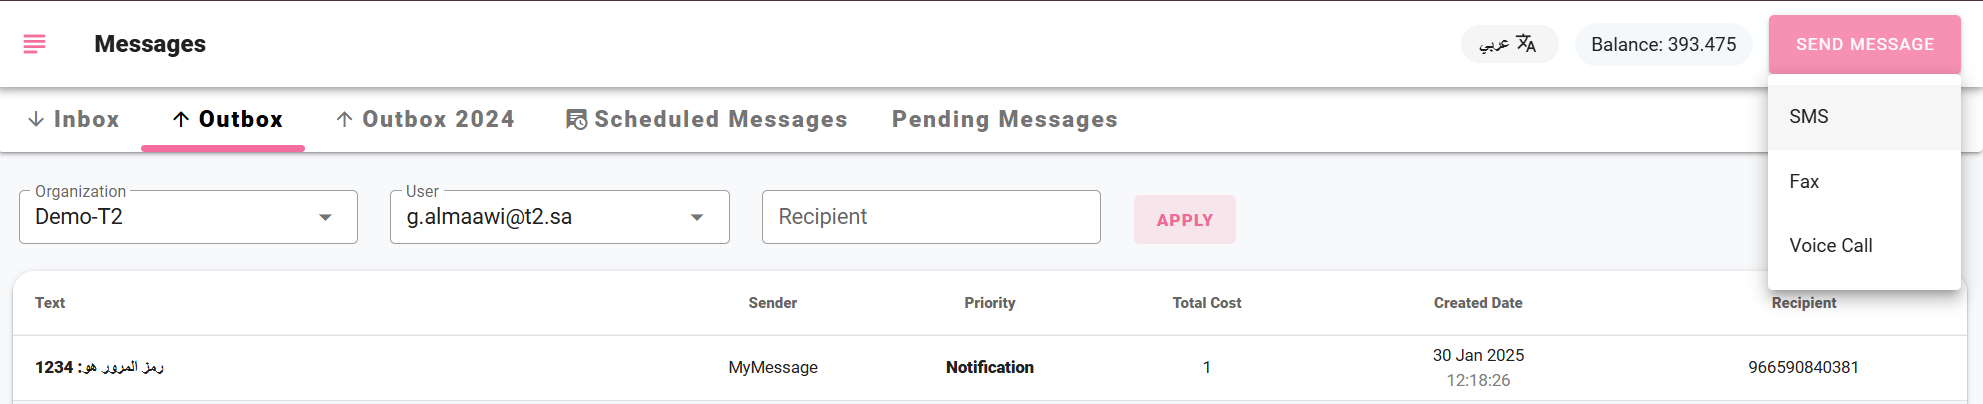
- Sending a Text Message
To send any message, there are essential elements that must be available: the message recipient, the sender, the message content, and the sending time. The recipient can be selected through pre-created groups or by choosing both options together. The sender can be determined by selecting from the allowed dropdown list or by manually entering recipient numbers. The message content can be entered at the time of sending or chosen from pre-created templates. As for the sending time, it can be set by clicking "Send Now" for immediate sending or by scheduling the message for a later time.
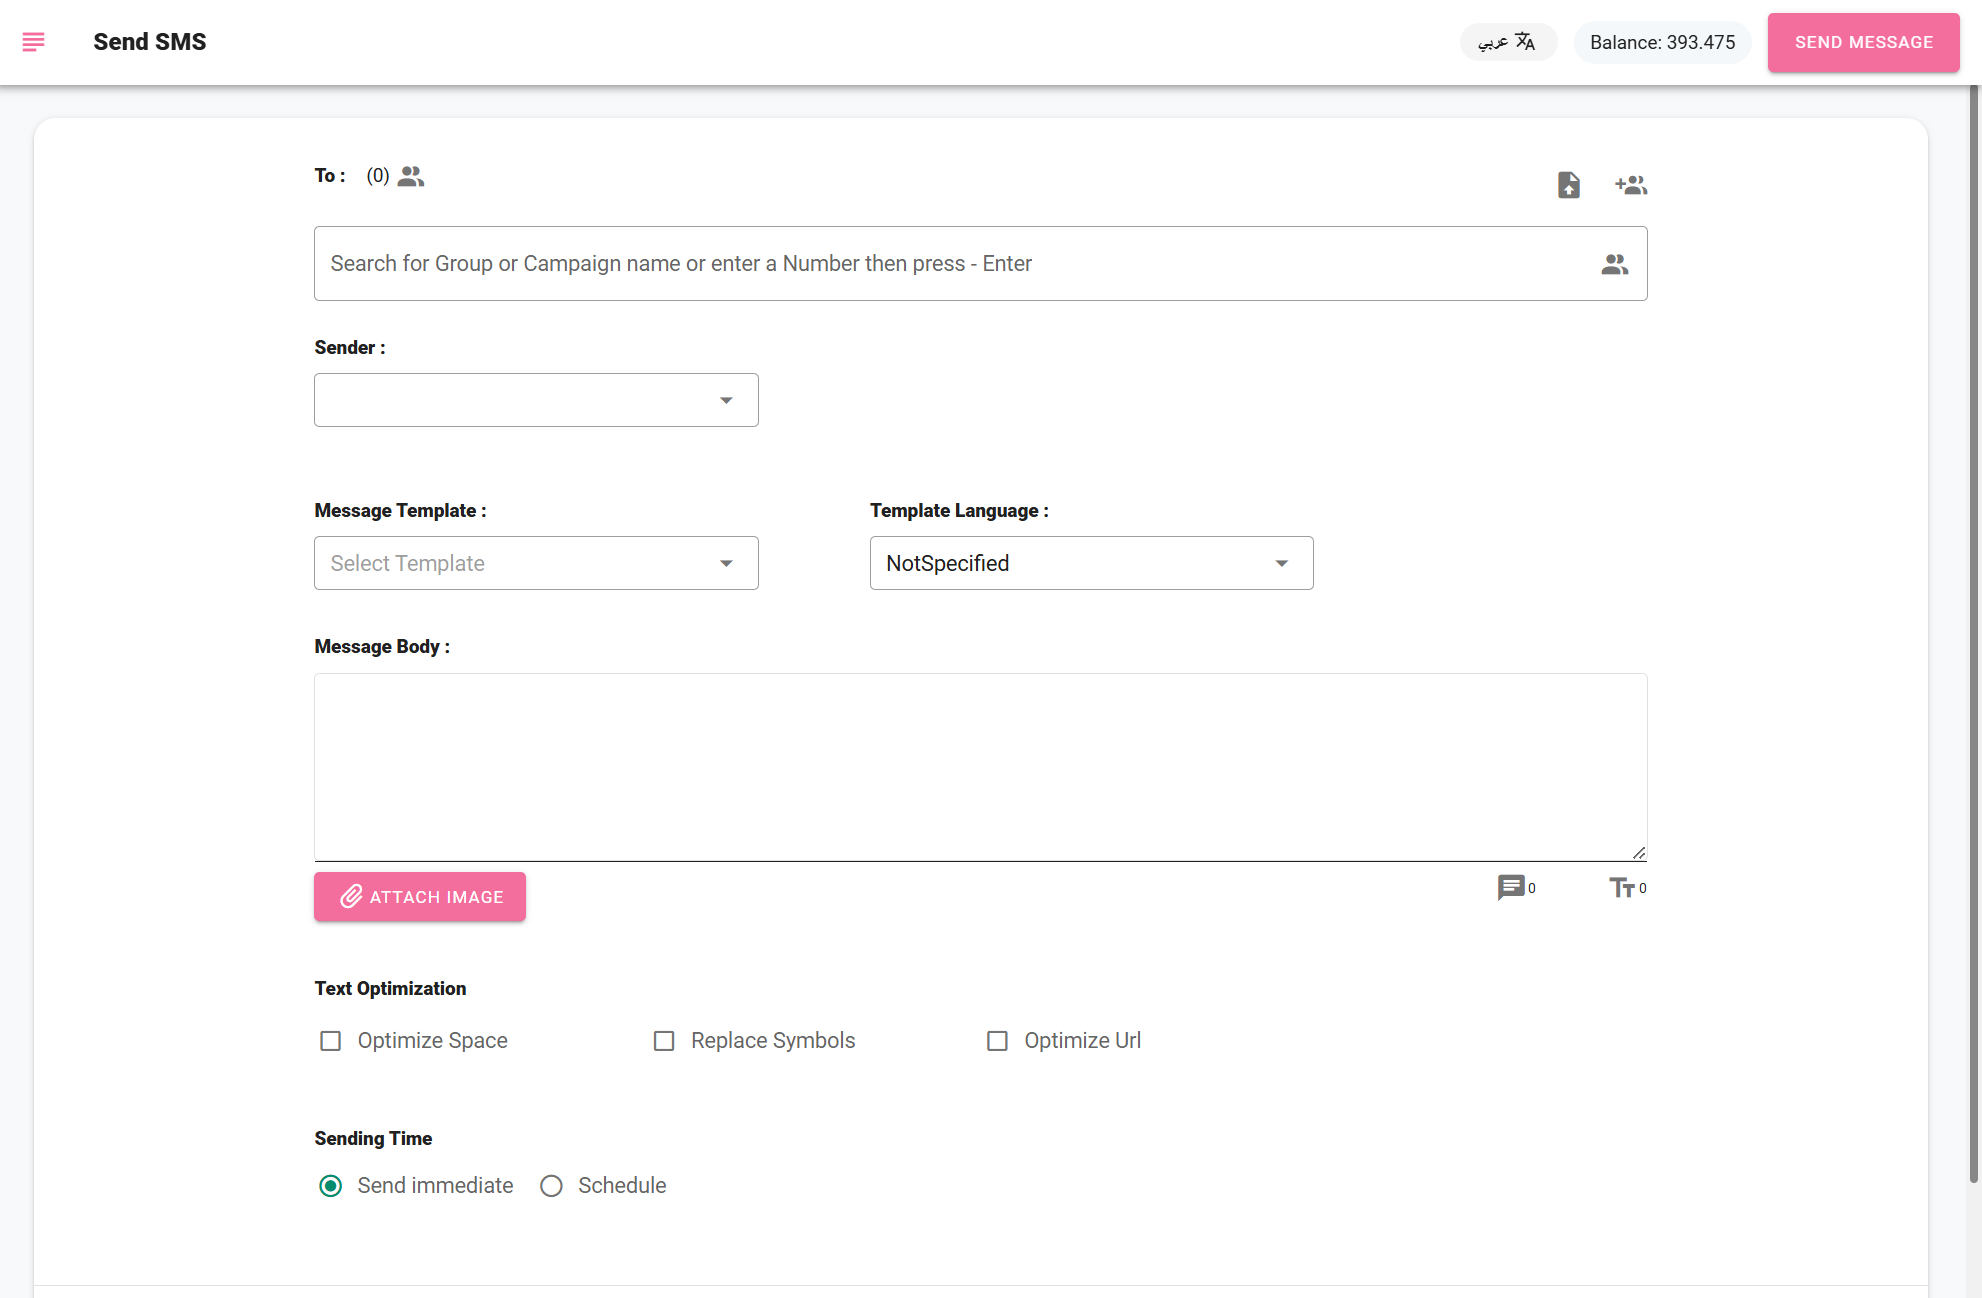
After selecting the type of message to be sent, such as an SMS, the recipient's number is entered manually, the group name is selected, or a file is uploaded. Then, the sender is chosen, the message content is entered or a template is selected, and the sending time is determined.
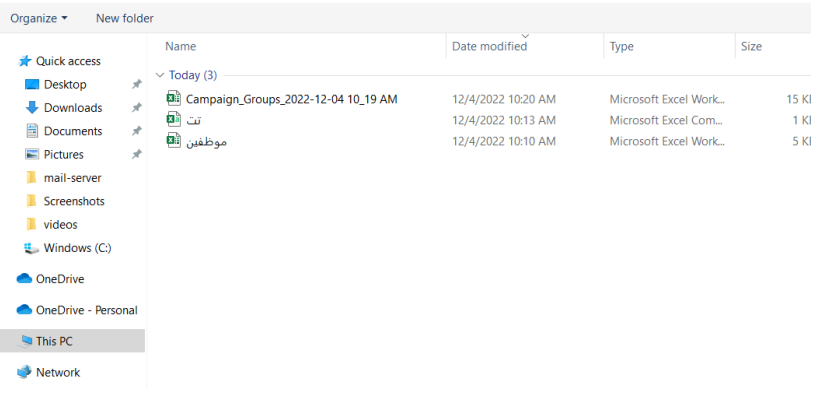
A file can be uploaded by clicking on the file button, which will display the following interface, allowing the user to select the file to be uploaded:
Then, the column containing the mobile numbers is selected, and the "Add" button is clicked.
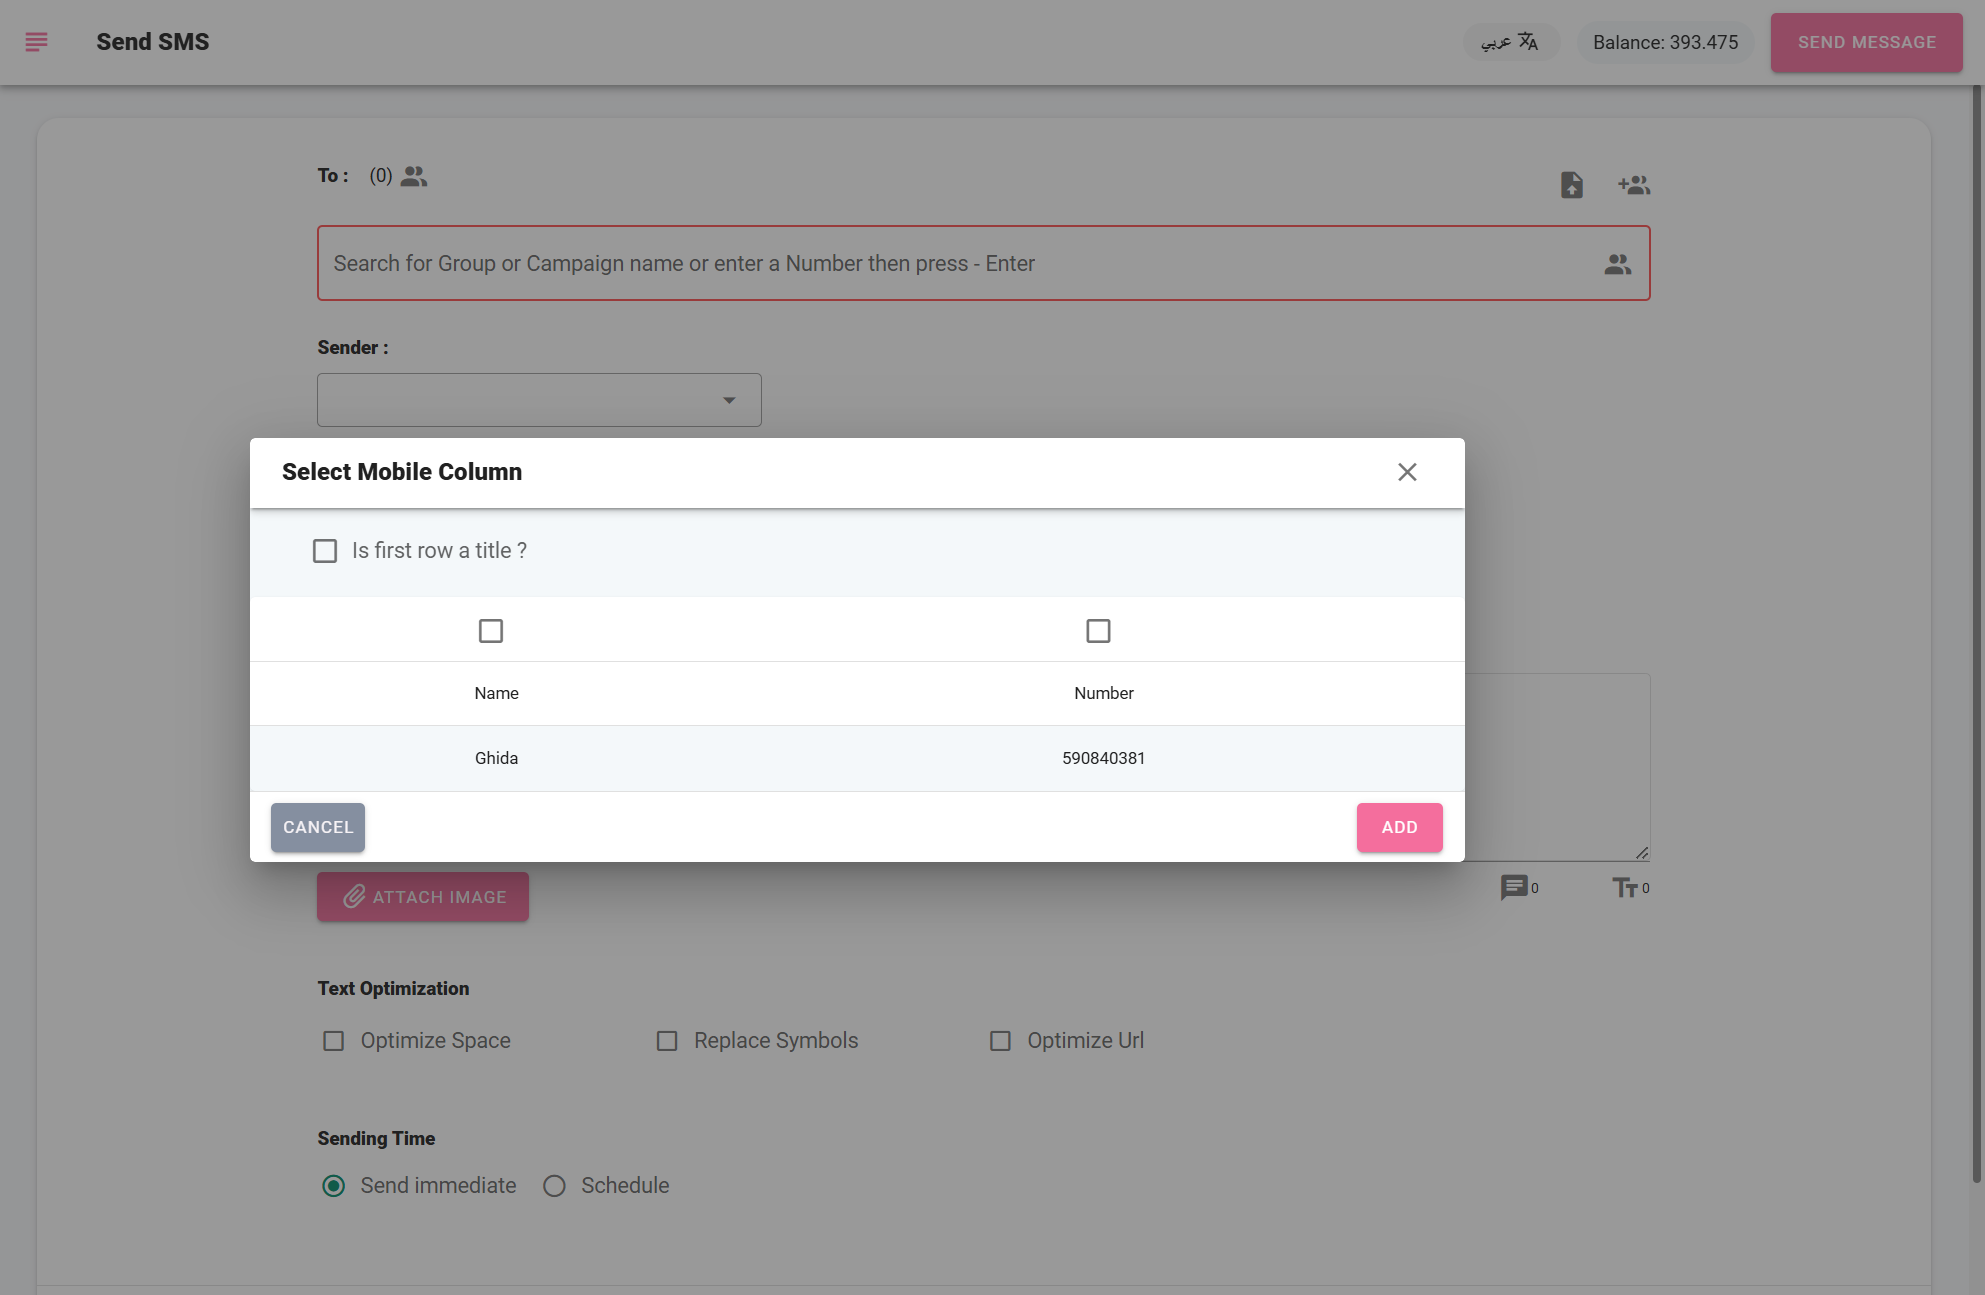
After clicking "Add" the contact groups or a selection of public or large groups to which the message is to be sent are chosen, as shown in the following image.
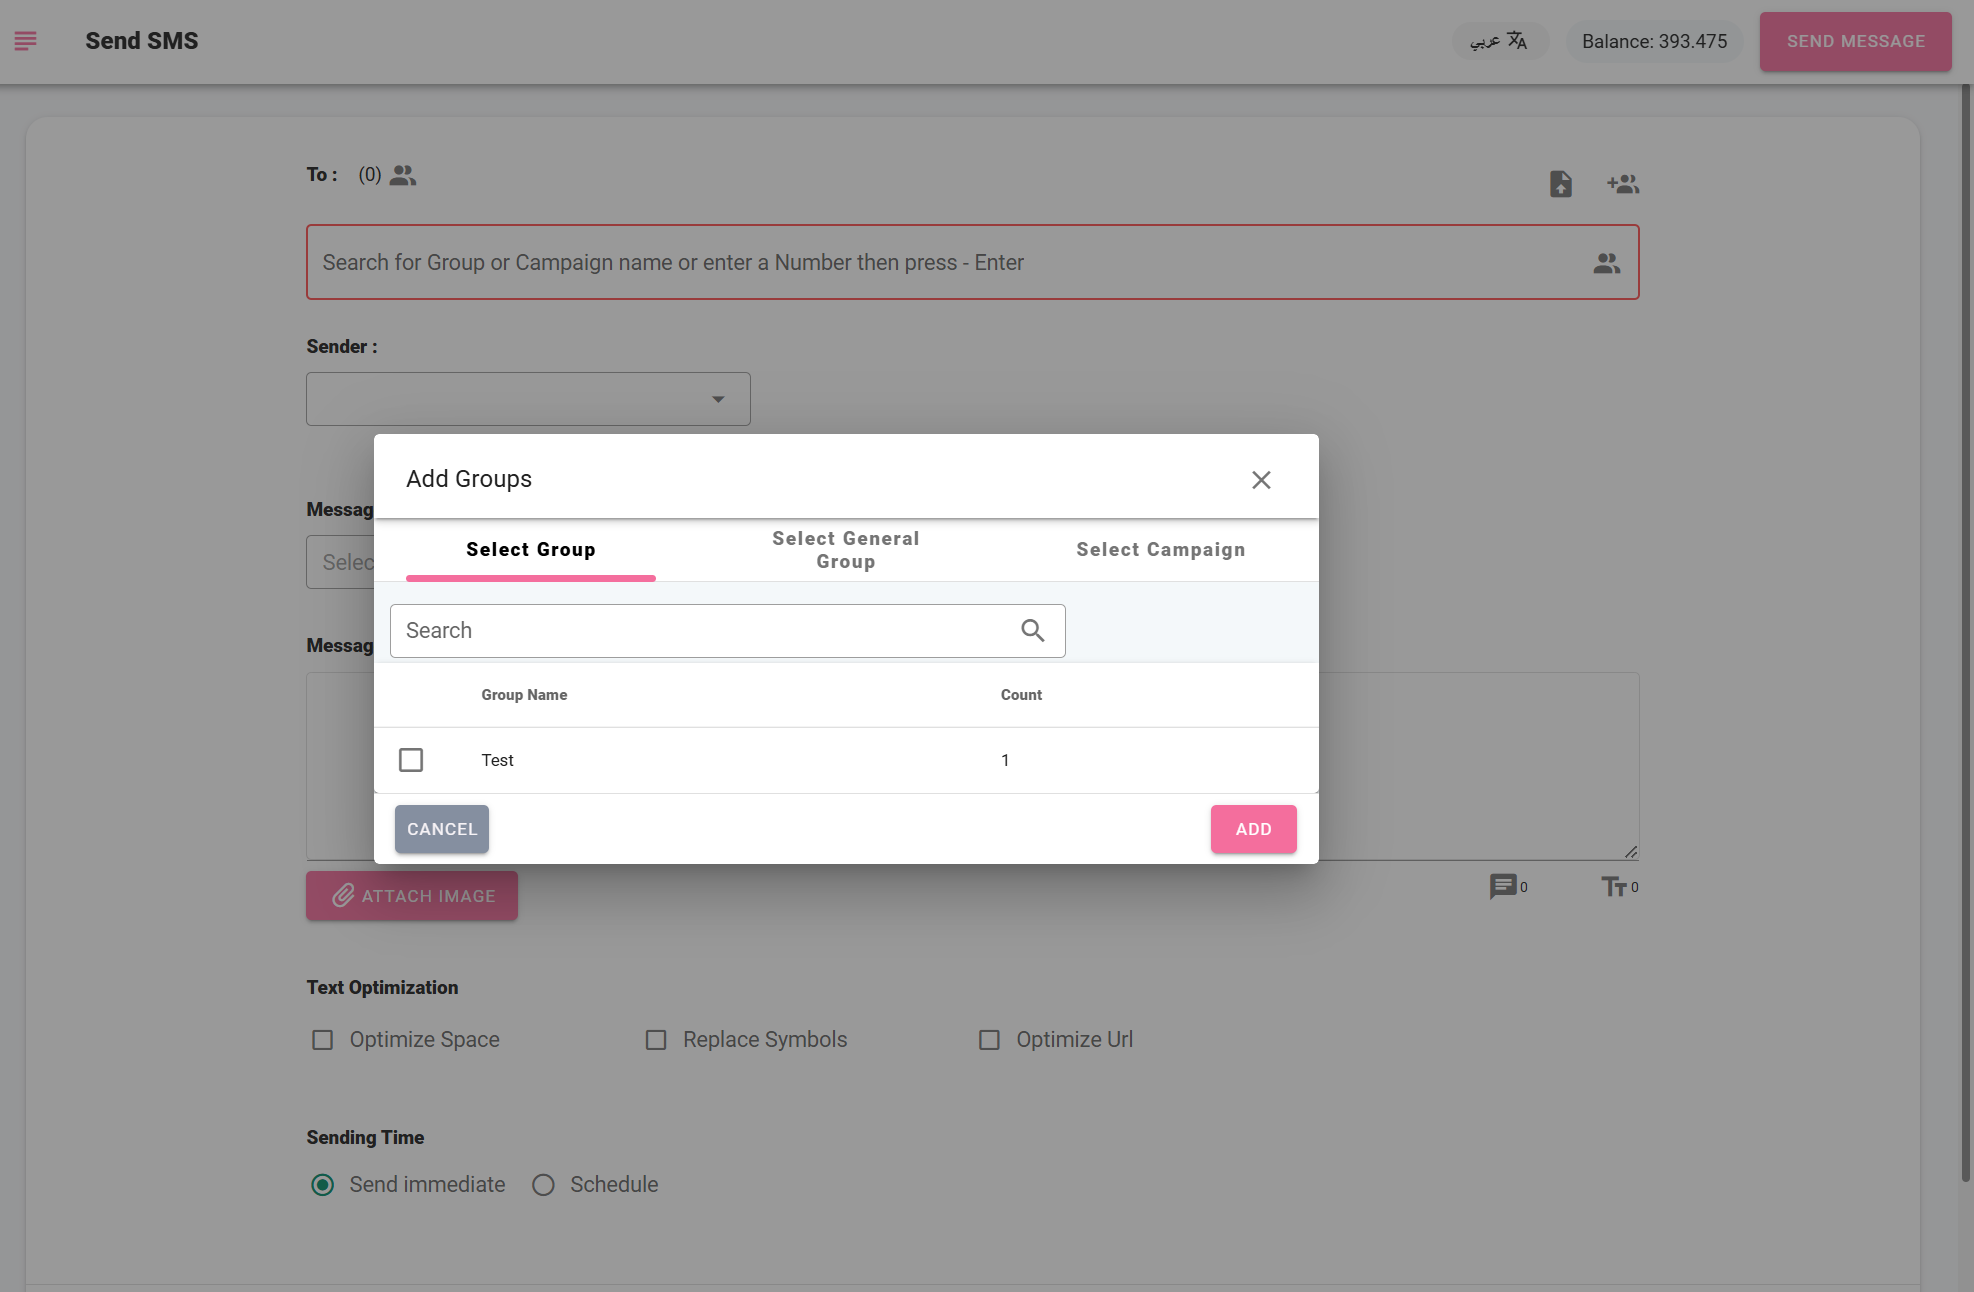
Then, after selecting the group(s) or campaign (the large group created previously), click "Add."
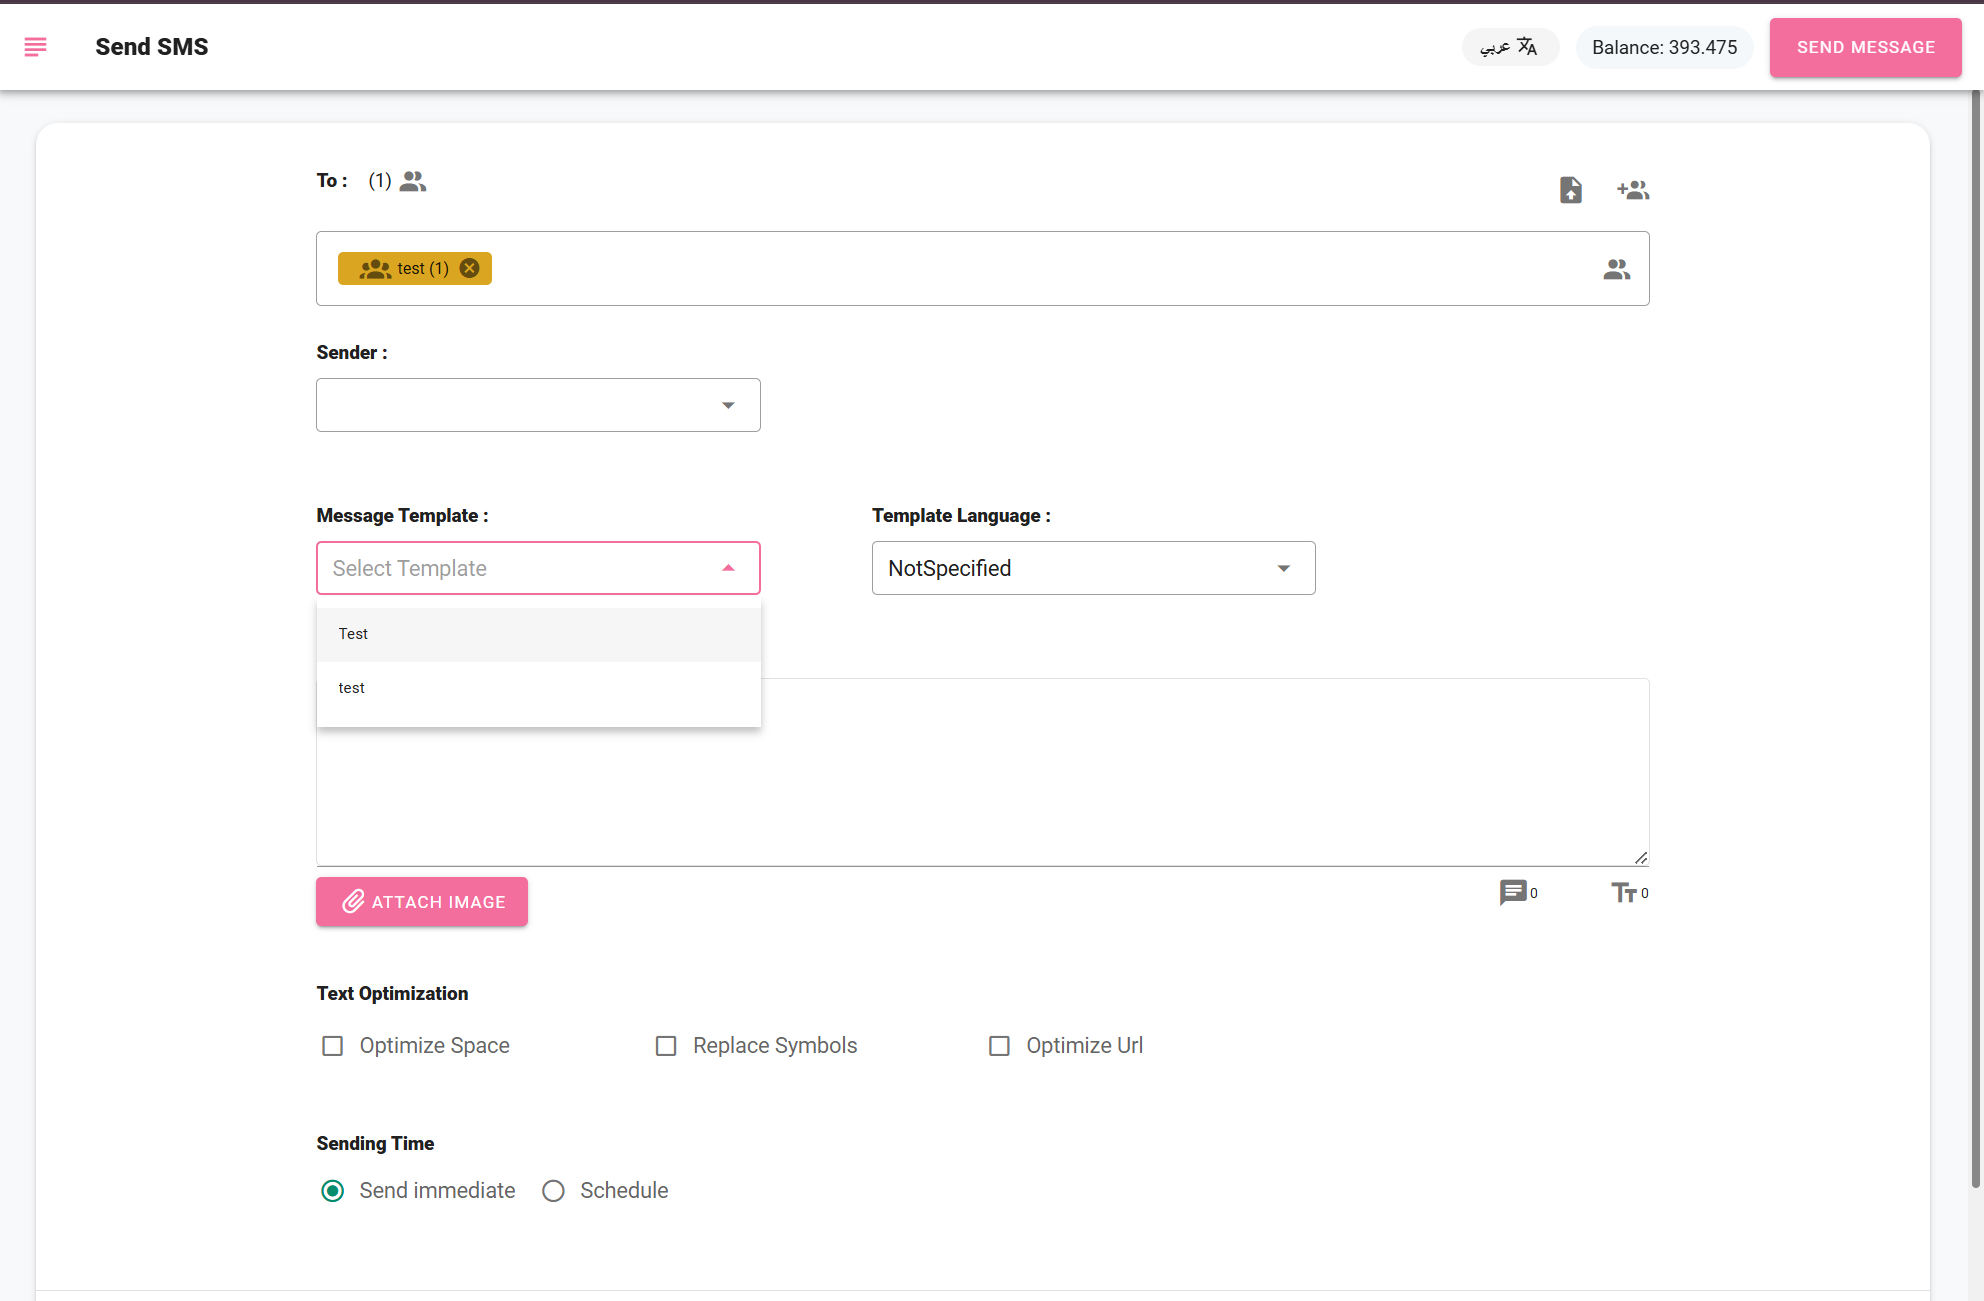
- After that, choose the sender's name, which will appear on the recipients screen.
- Next, add the message content or select a pre-added message template, and also specify the language of the message.
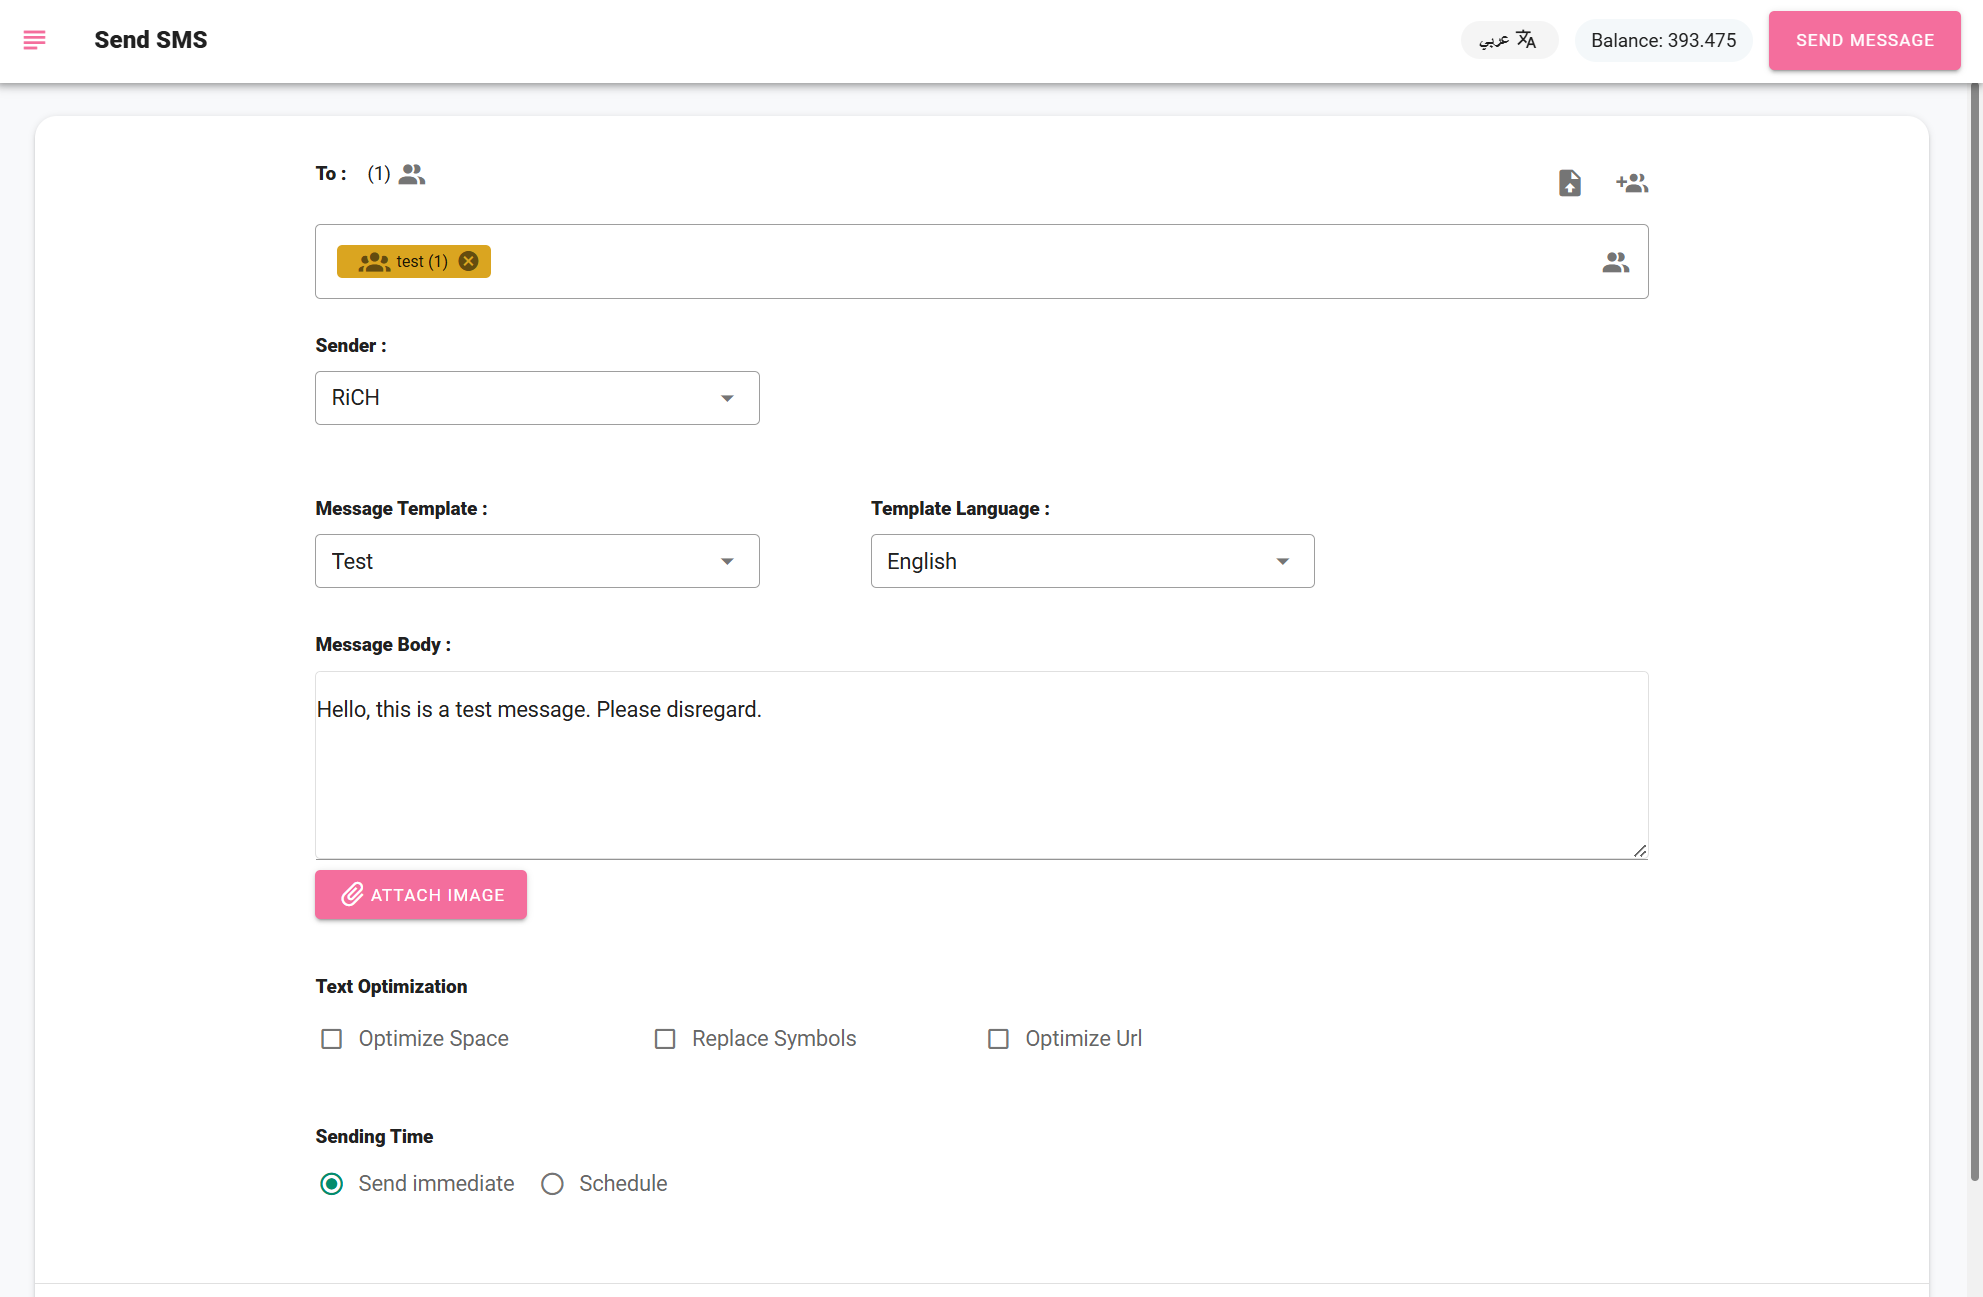
After adding the message content, the user can attach an image and send a link to that image. They can also shorten the link to reduce the character count in the message, thus reducing the number of parts, by optimizing the URL. The text can also be optimized by removing spaces and replacing some words with symbols defined by the system.
Additionally, the user can see the number of characters and the number of message parts to minimize the character count, where:
- 70 characters = 1 message.
- 71 characters = 2 messages.
For the English language:
- 160 characters = 1 message.
- 161 characters = 2 messages.
As shown in the following image:
- Then, the sending time is selected, either "Send Now" or "Schedule Send".
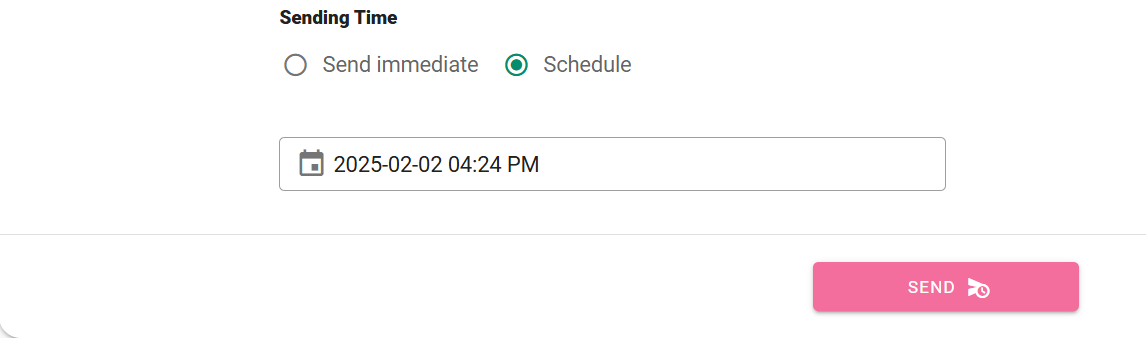
When "Schedule Send" is selected, the date and time for sending the message are chosen.
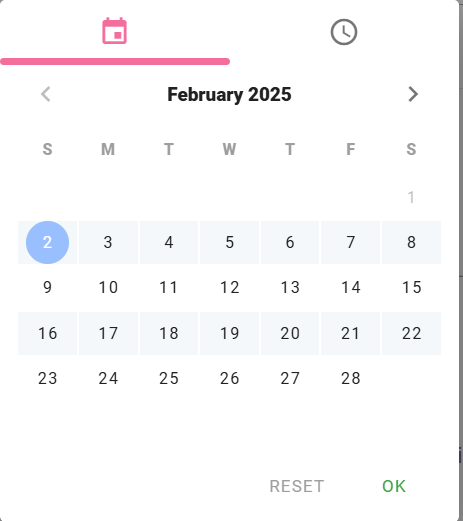
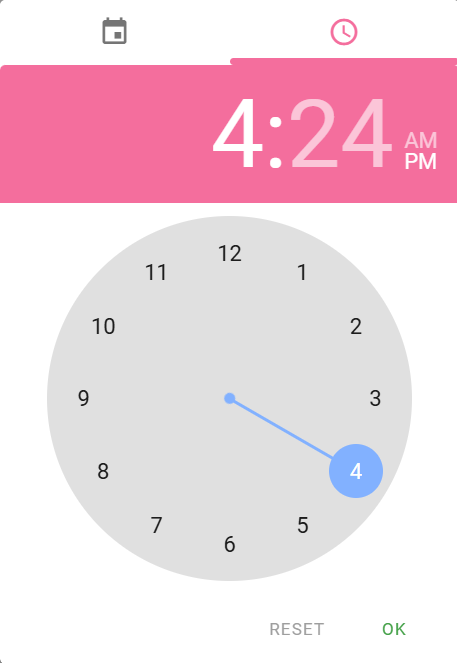
After selecting the date and time for the scheduled send, click on the "Send" icon to complete the scheduling process.
Click here to find an explanatory video on how to schedule messages.