
Groups
Through this page, the user can create contact groups, including public and large groups, to be used for sending SMS messages as well as making voice calls. When clicking on "Groups," the following menu will appear as shown in the figure below:
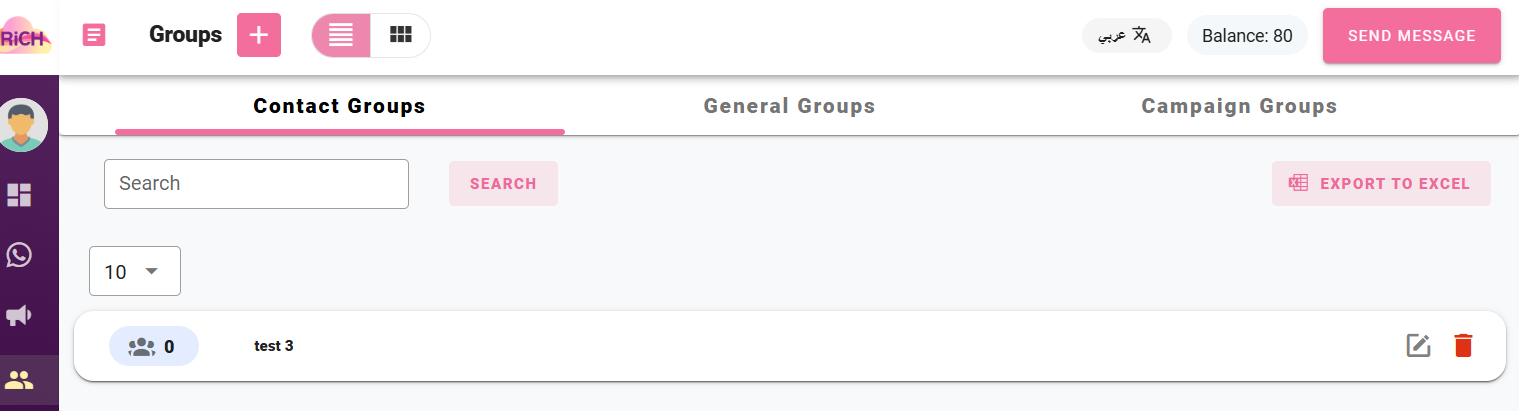
Contacts Group Page :
Through this page, the user can create multiple contact groups, where each group contains recipients. Users are added manually through the interfaces shown below. The user can later select these groups to send text messages or make voice calls.
To add new groups, click on the + icon, and the following screen will appear:
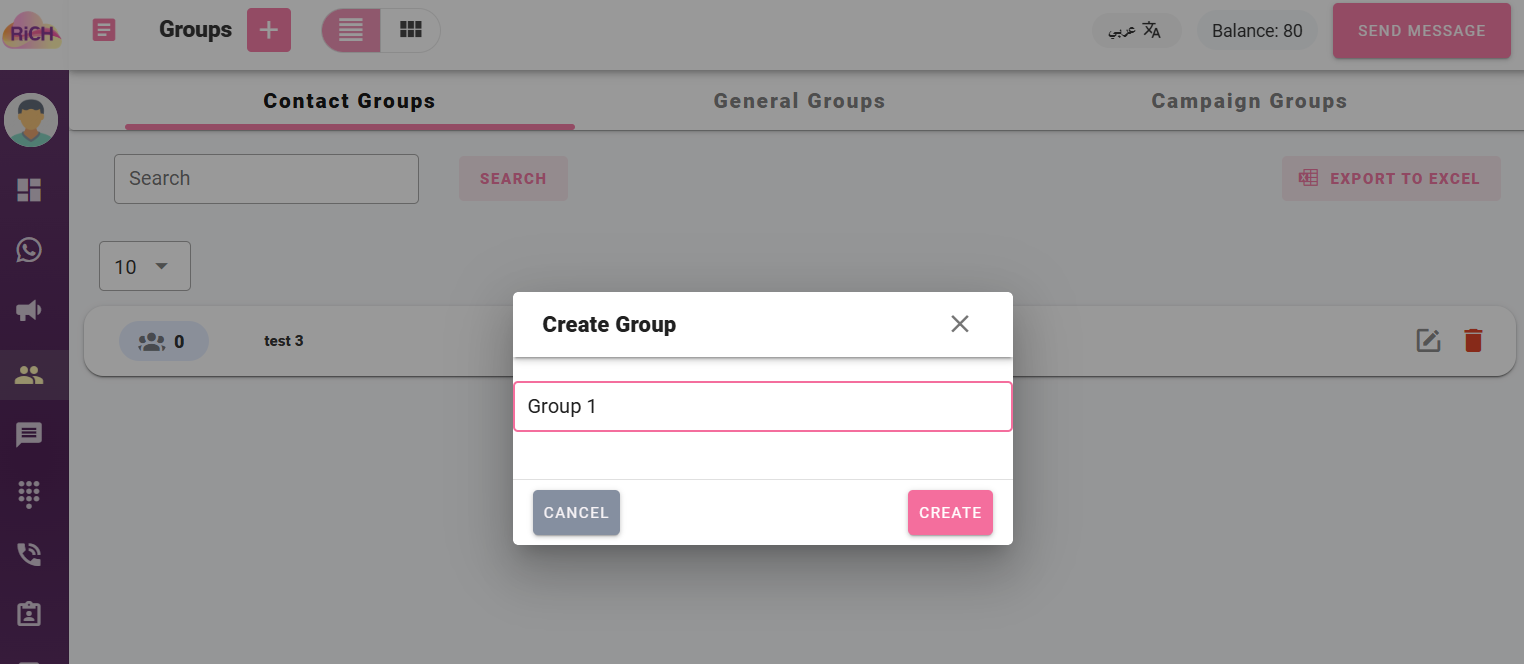
After clicking on "Create," the following screen will appear, allowing the user to modify the contact group's name, add contacts to the group, and delete the group.
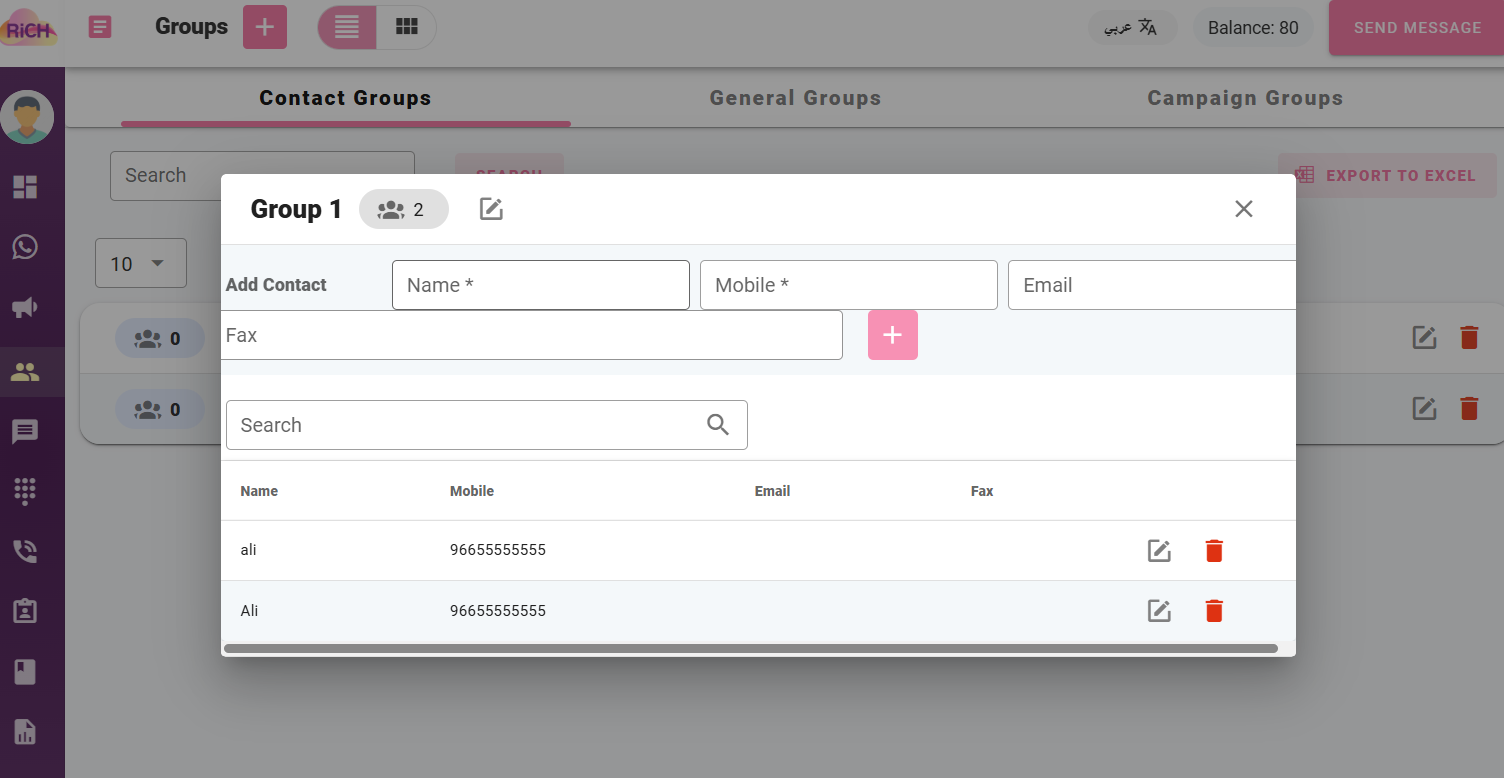
When selecting the edit icon, the following screen will appear:

A contact is added by filling in the name and mobile number fields. The user can also add an email address and fax number, then click the + icon.
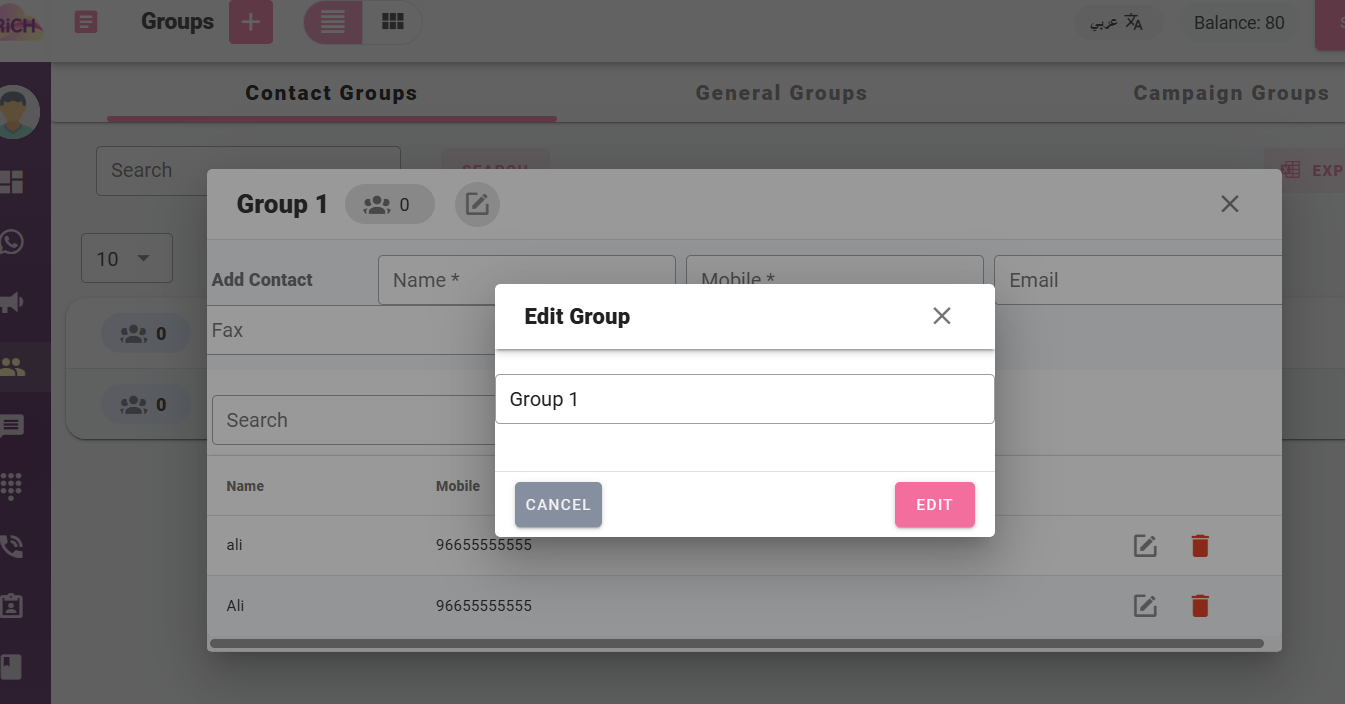
When selecting the same "Edit" icon, the user can modify the group's name.
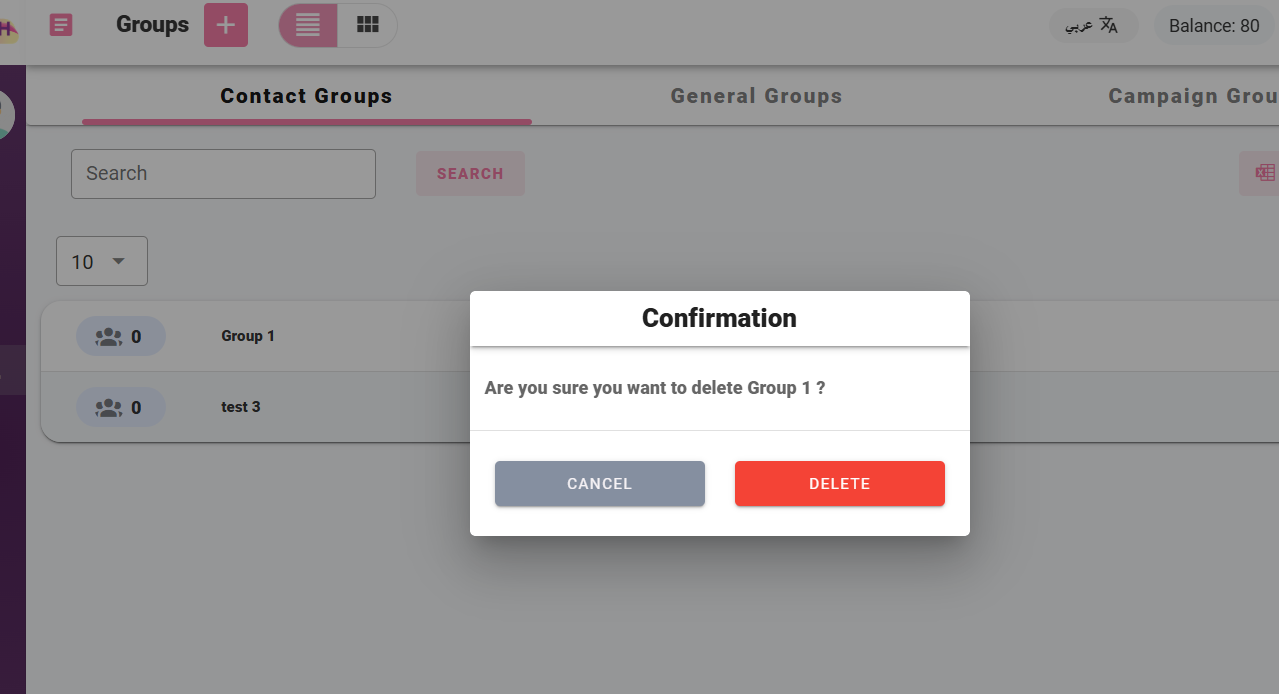
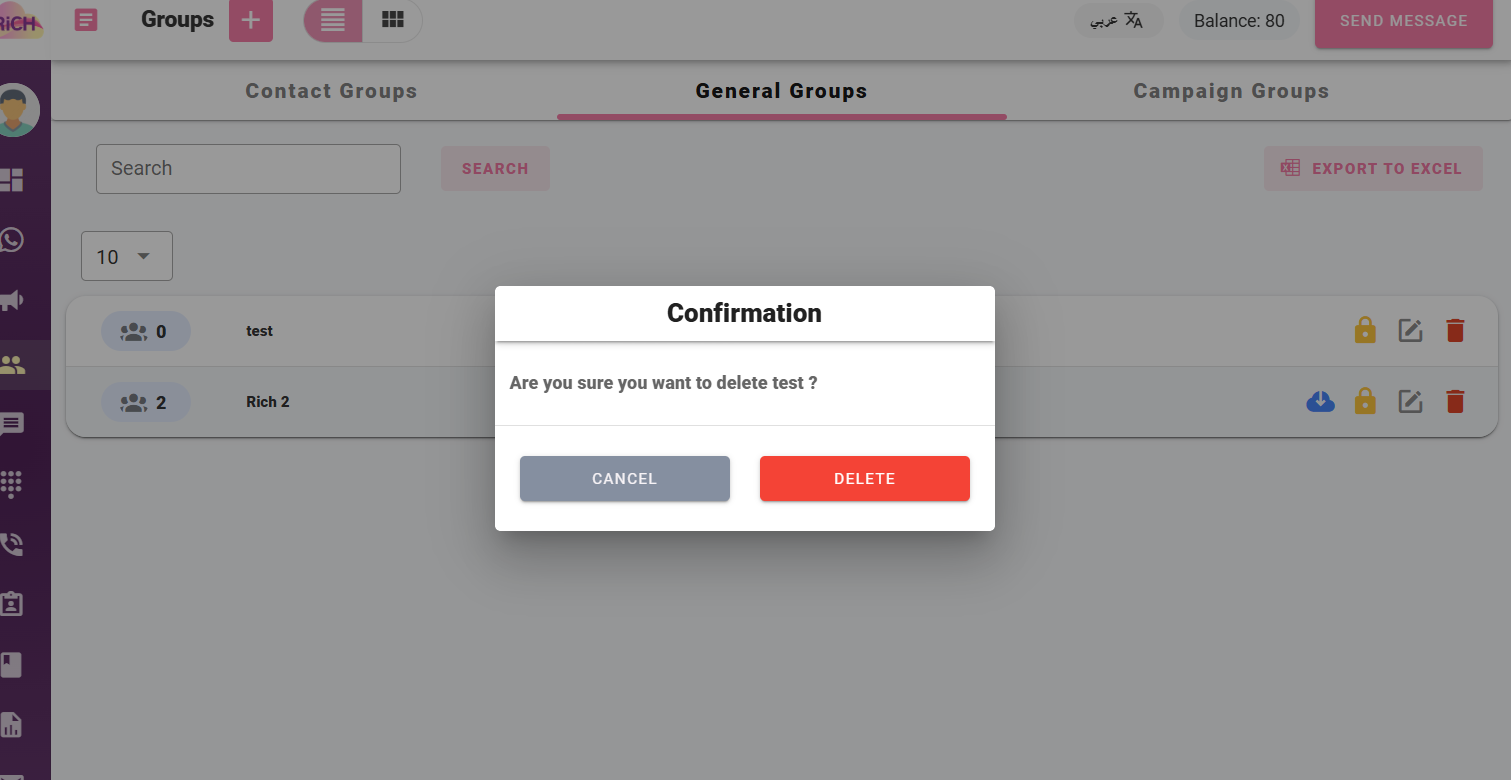
The user can delete a contact or the group by selecting the delete icon.
You can also select the export icon to export the file to Excel for each group.
Public Contact Groups Page:
Through this page, the user can also create multiple contact groups, and users are added manually, with the option to activate user permissions. The user can later select these groups to send text messages or make voice calls.
To add new groups, click on the + icon, and the following screen will appear:
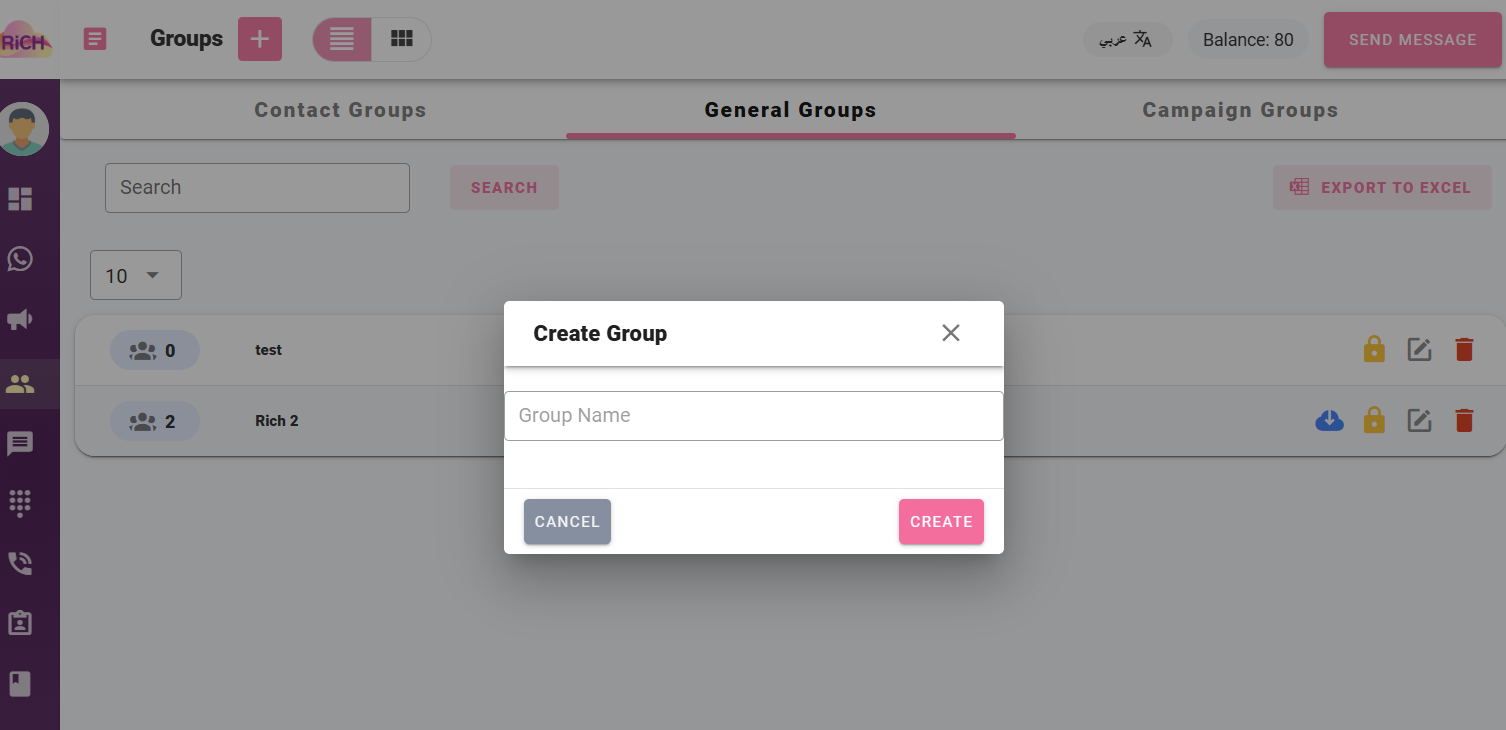
After clicking on "Create," the following screen will appear, allowing the user to modify the contact group's name, add contacts to the group, activate user permissions, and delete the group.
When selecting the edit icon, the following screen will appear:
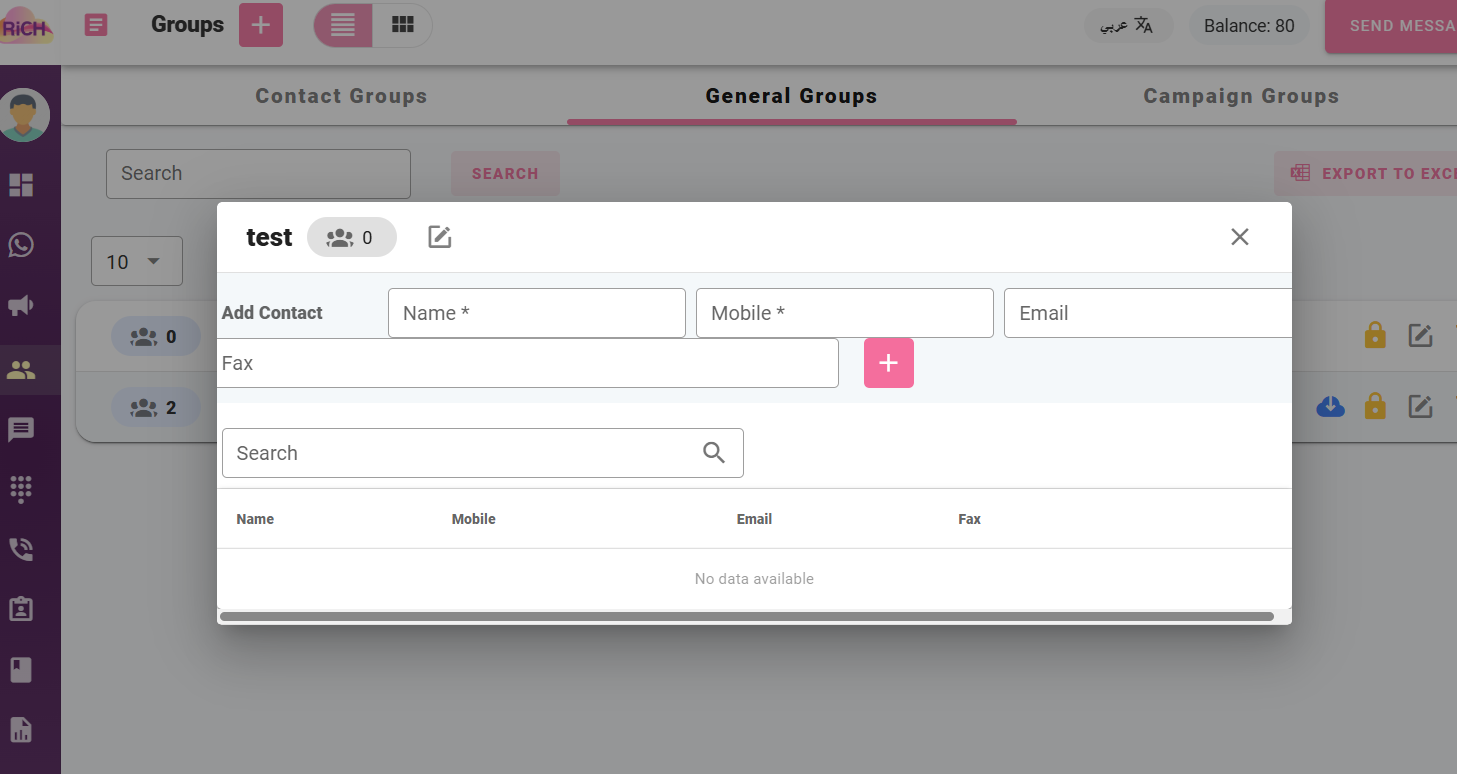
A contact is added by filling in the name and mobile number fields. The user can also add an email address and fax number, then click the + icon.
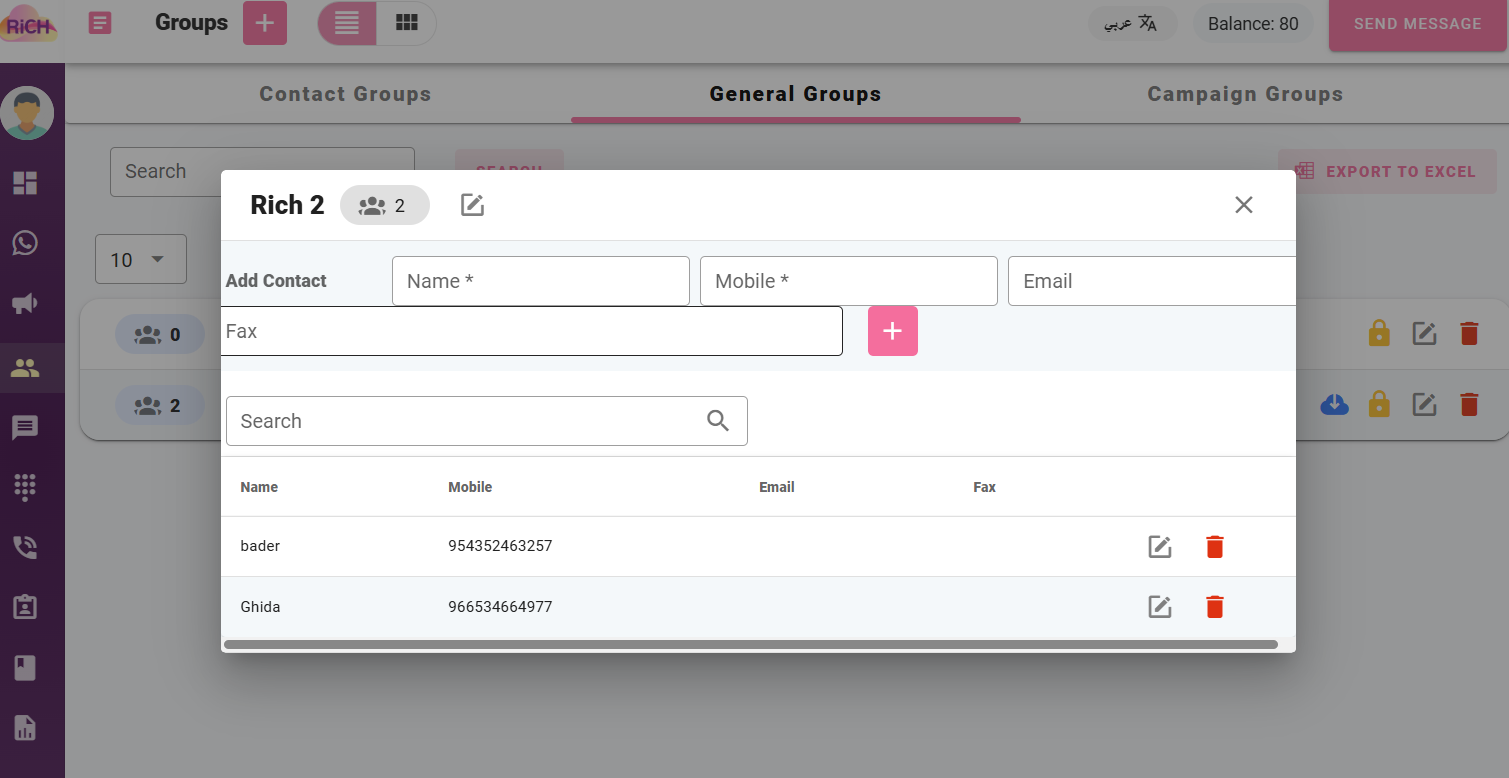
When selecting the same "Edit" icon, the user can modify the group's name.

The user can activate user permissions by clicking on the lock icon, and the following screen will appear:
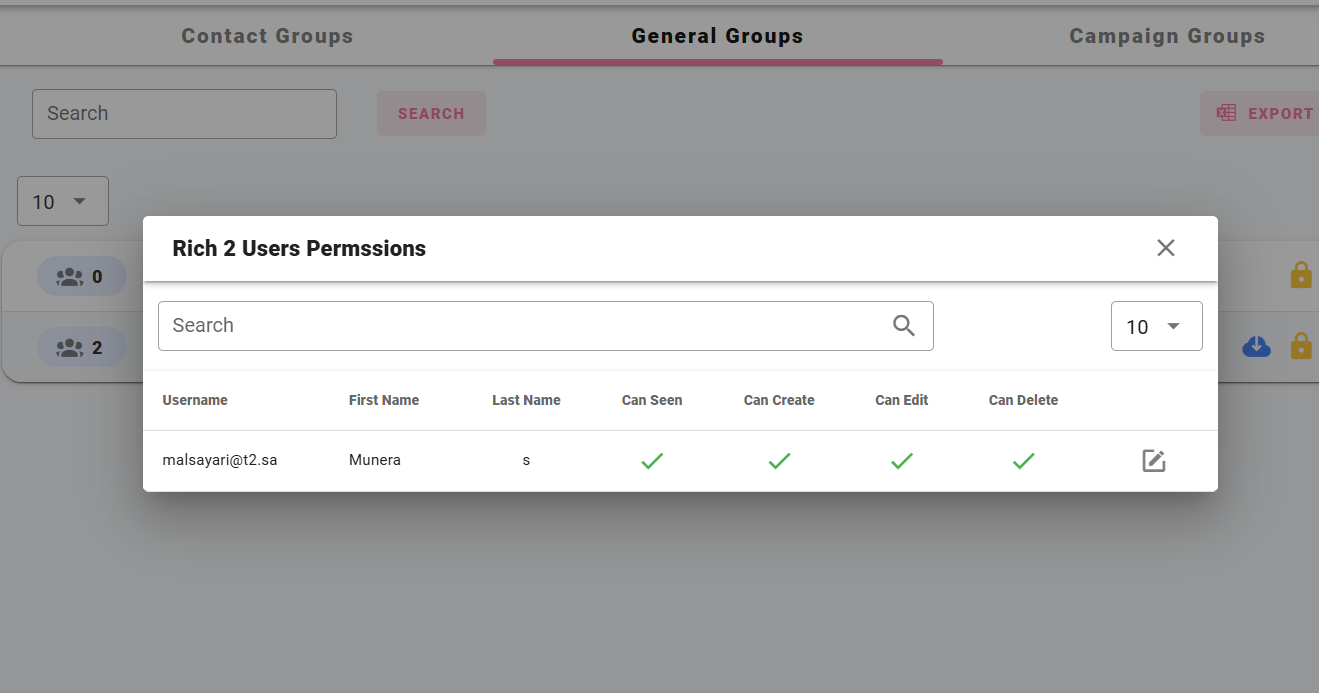
You can specify permissions for each user after clicking on the checkbox.
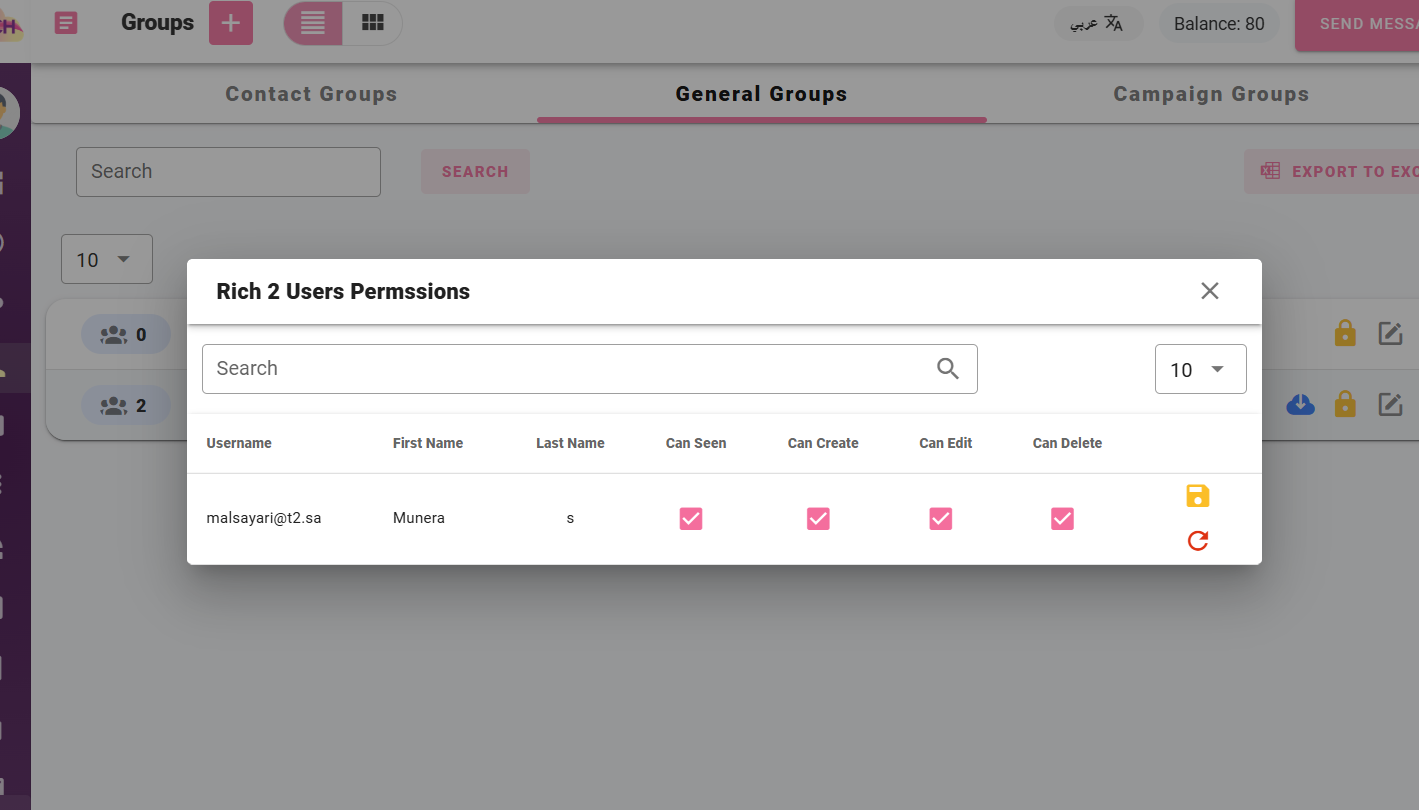
The lock icon is selected to activate the permission for the username.
The user can delete a contact or the group by selecting the delete icon.
You can also select the export icon to export the file to Excel for each group
Mass Contact Groups Page
This page allows the user to create groups that contain a large number of contacts by uploading a file with mobile numbers to the system. These groups are used for sending mass text messages and voice calls.
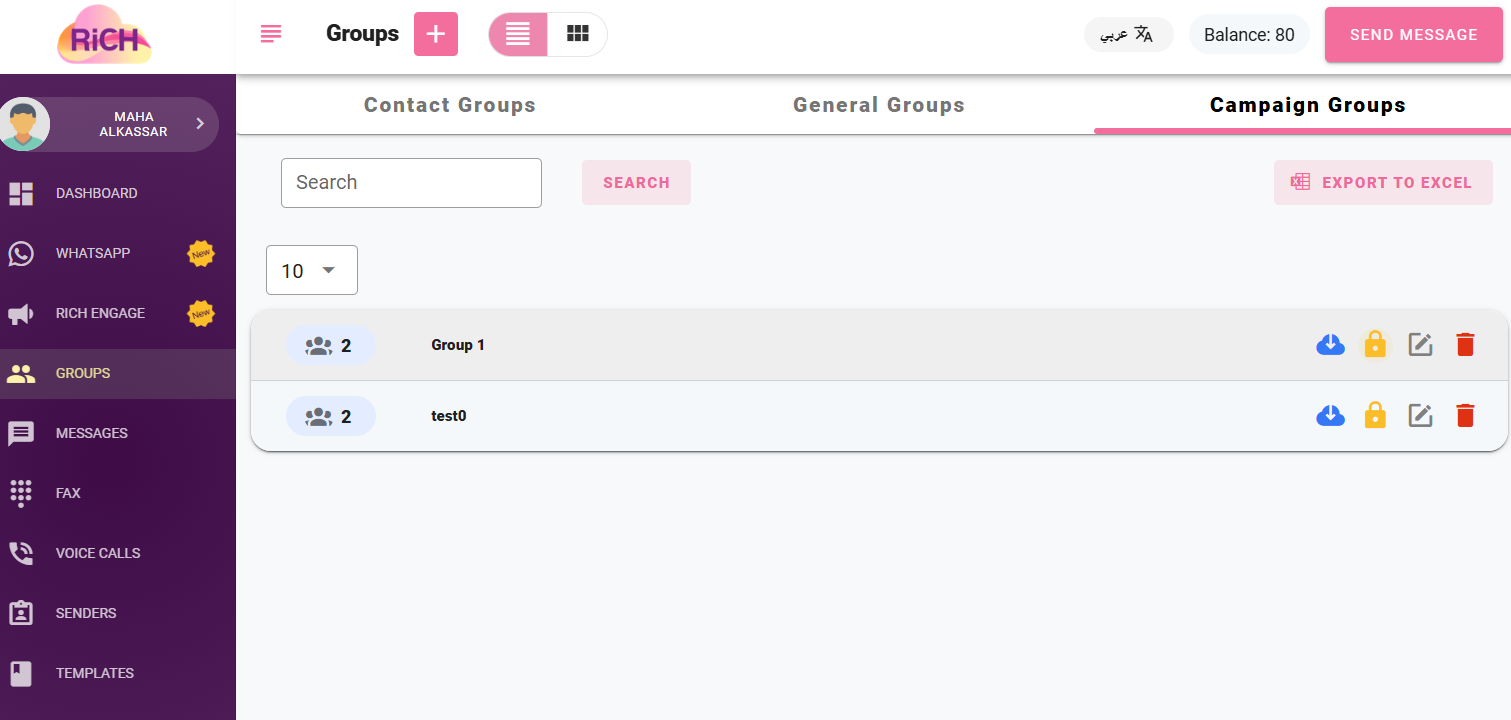
The following figure shows an example of the "Mass Contact Groups" page:
To add a group to the mass contact groups, click on the + icon, and the following screen will appear:

After creating the group, click on the edit icon to select the uploaded file.
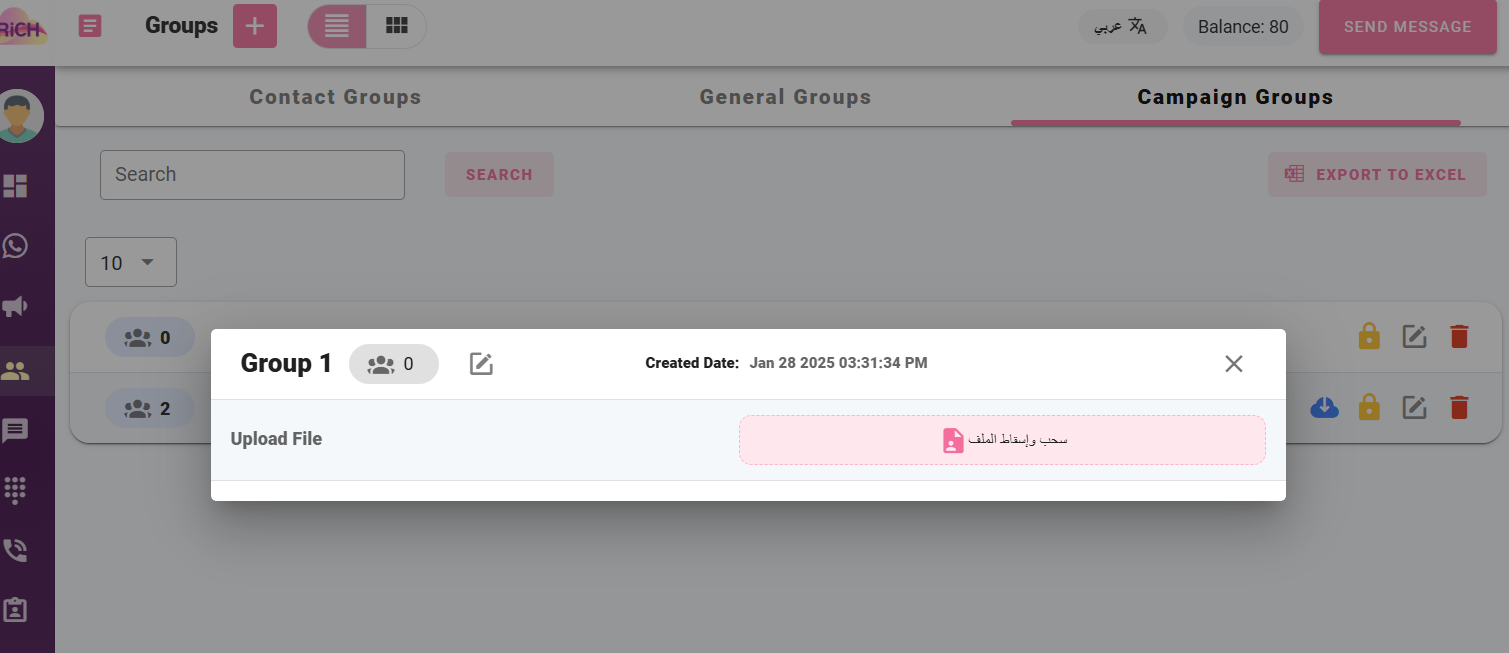
After selecting the drag-and-drop option for the file, the following screen will appear:
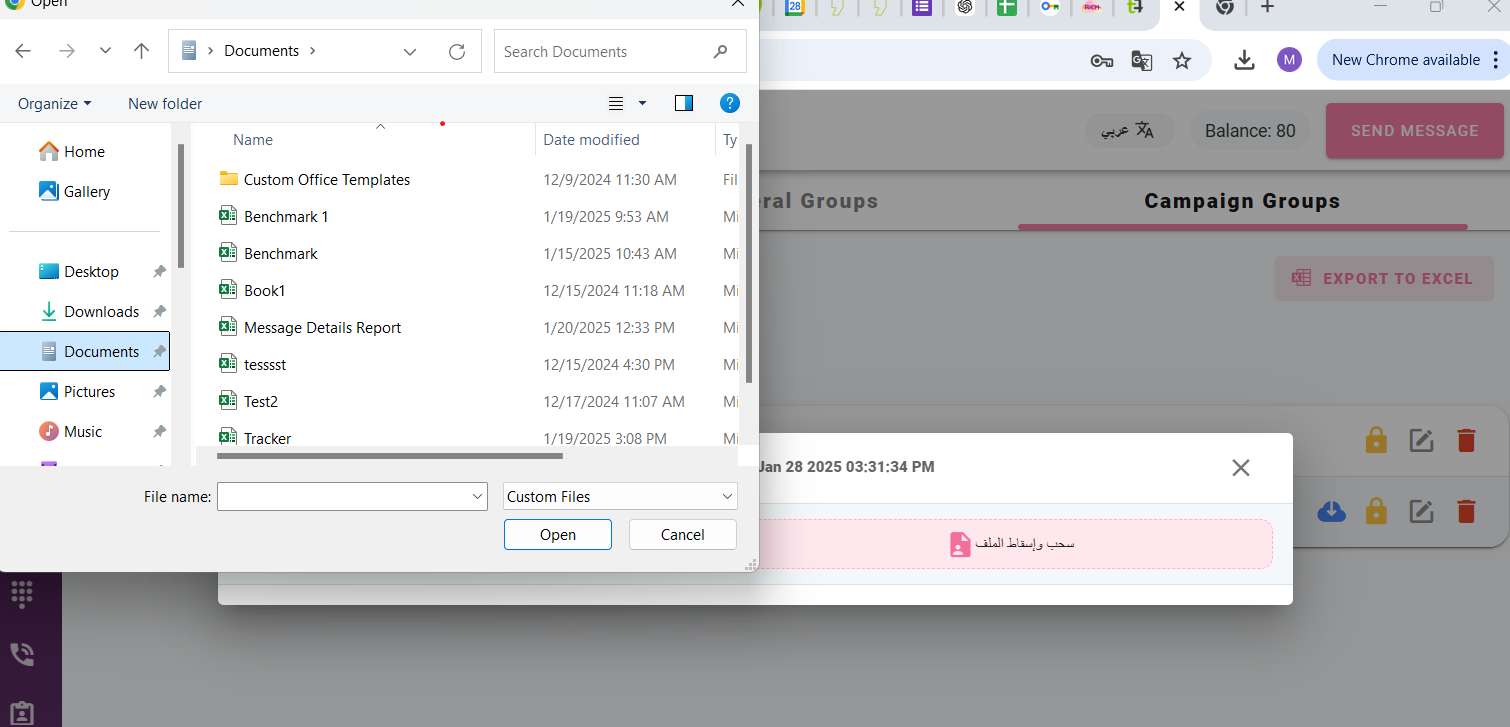
The file to be uploaded is selected.
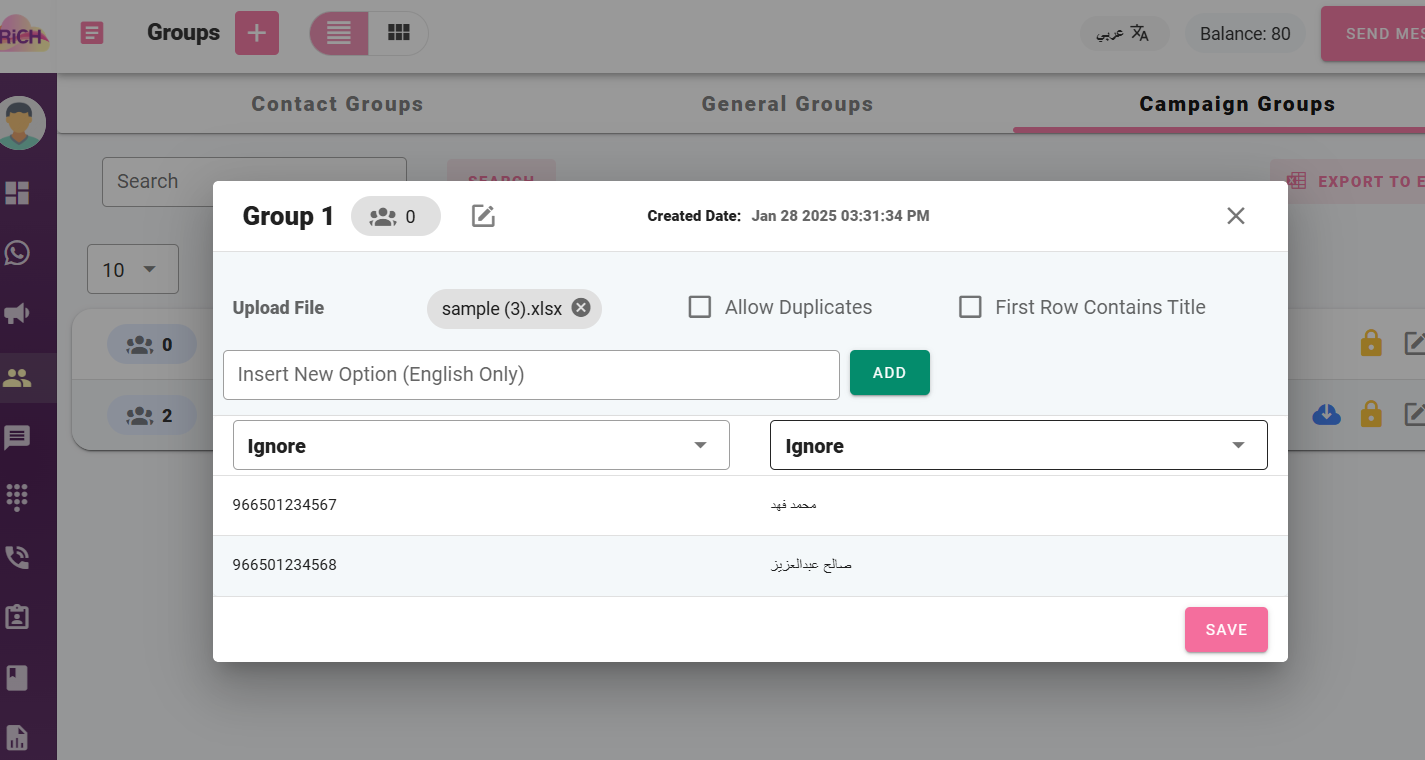
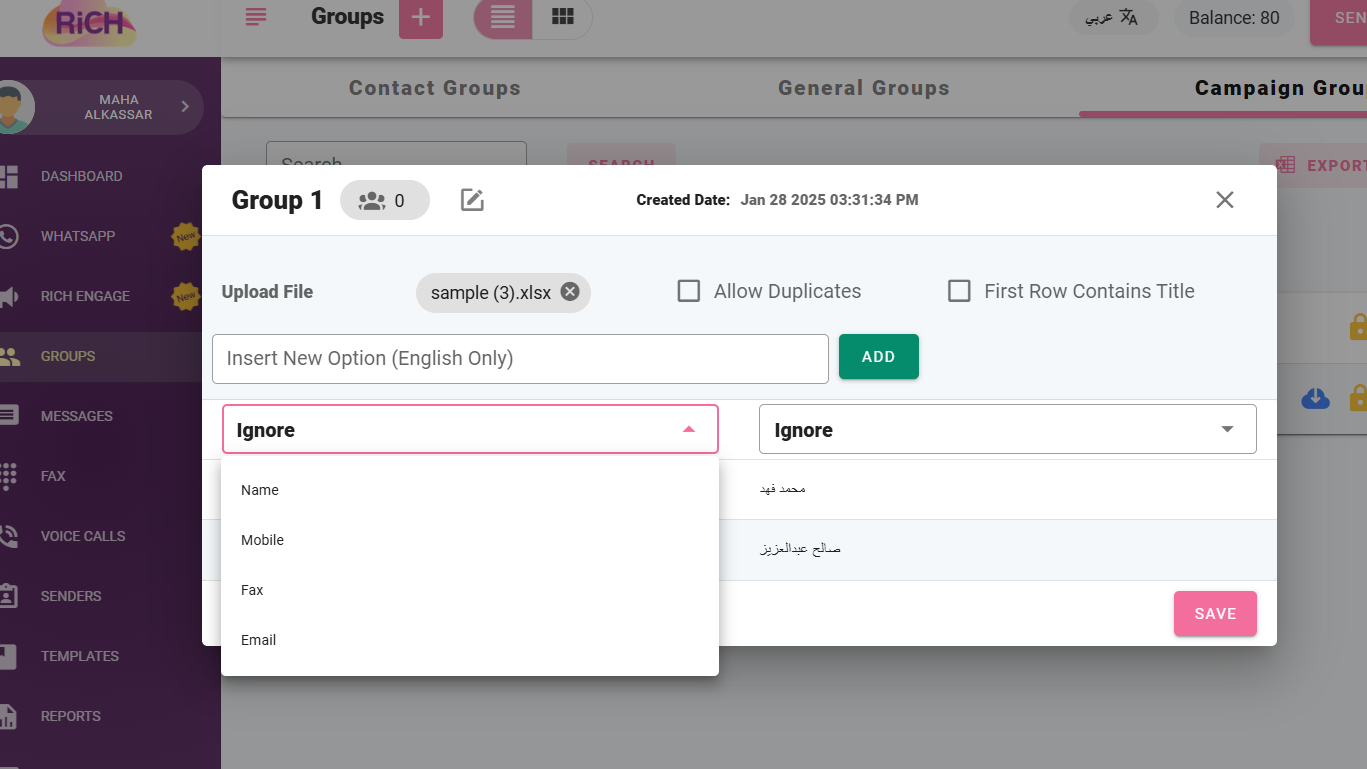
The name of each column is selected from the dropdown list after clicking on the "Ignore" box, as shown in the following image.
A new option for column names can be added by typing the column name in English in the "Add New Column Name Option" box, then clicking on "Add."
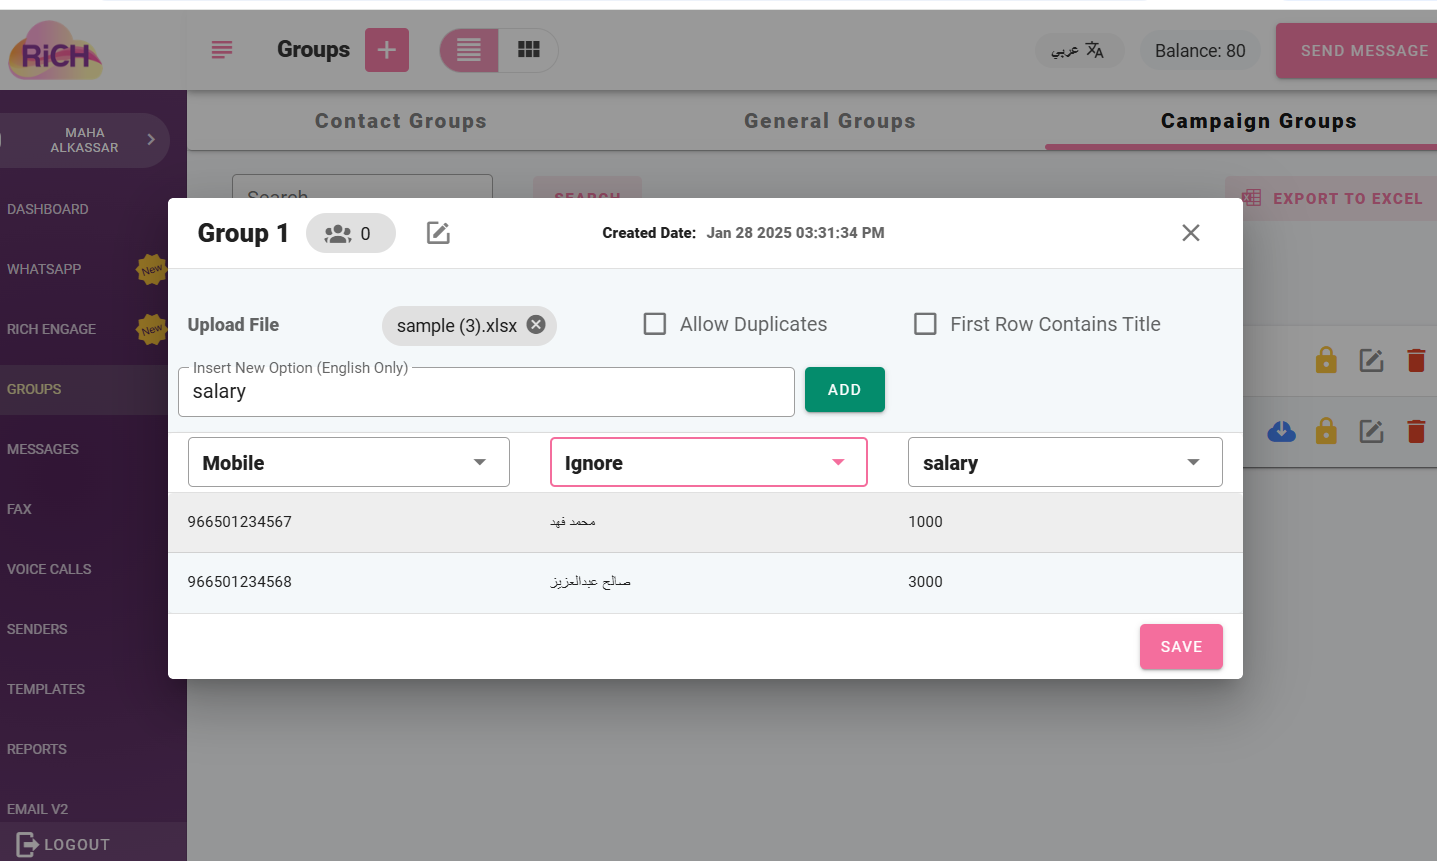
Then click on "Save" to save the contacts.
After saving the contacts, select the lock icon as shown below:
The user can activate user permissions after clicking on the lock icon.
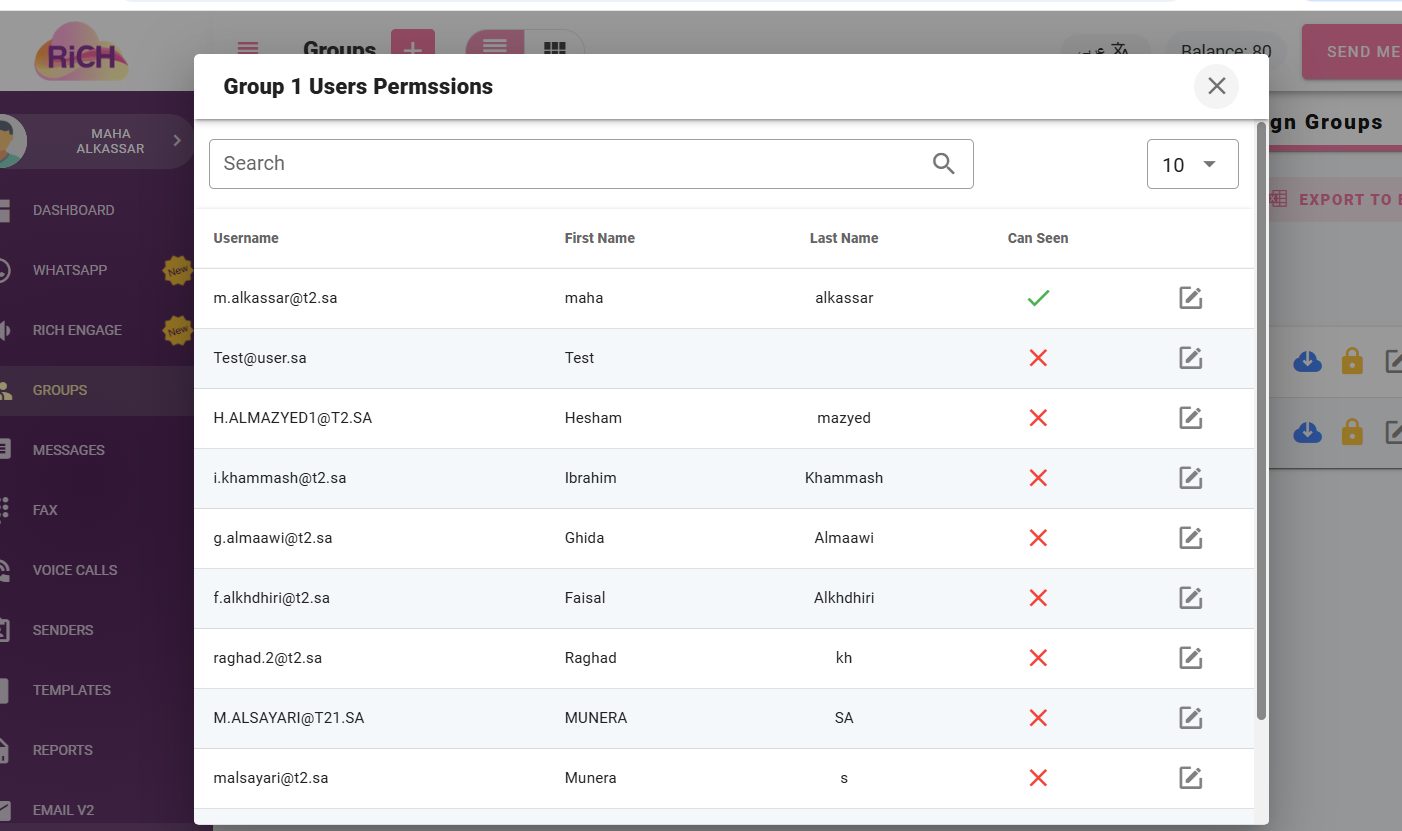
After clicking on the checkbox:

The save icon is selected, and thus the username is activated.
You can also select the export icon to export the file to Excel for each group.